Installing Windows 10 IoT Core using a Hyper-V Windows 10 machine
So I finally came around to play with my raspberry pi 2 a little bit and my first objective was to install Windows 10 IoT core on it. The full getting started tutorial has all the needed steps written.
After registering and accepting the EULAs (important! you will simply not see the downloads otherwise!) I noticed the first obstacle for me. They require you to copy the data to sd card using a Windows 10 hardware machine. I have only one Windows 10 machine which is running in Hyper-V.
So I accepted the challenge :-) This article suggested, it may at all be possible to copy the image to the sd card using Windows 7 or Windows 8.
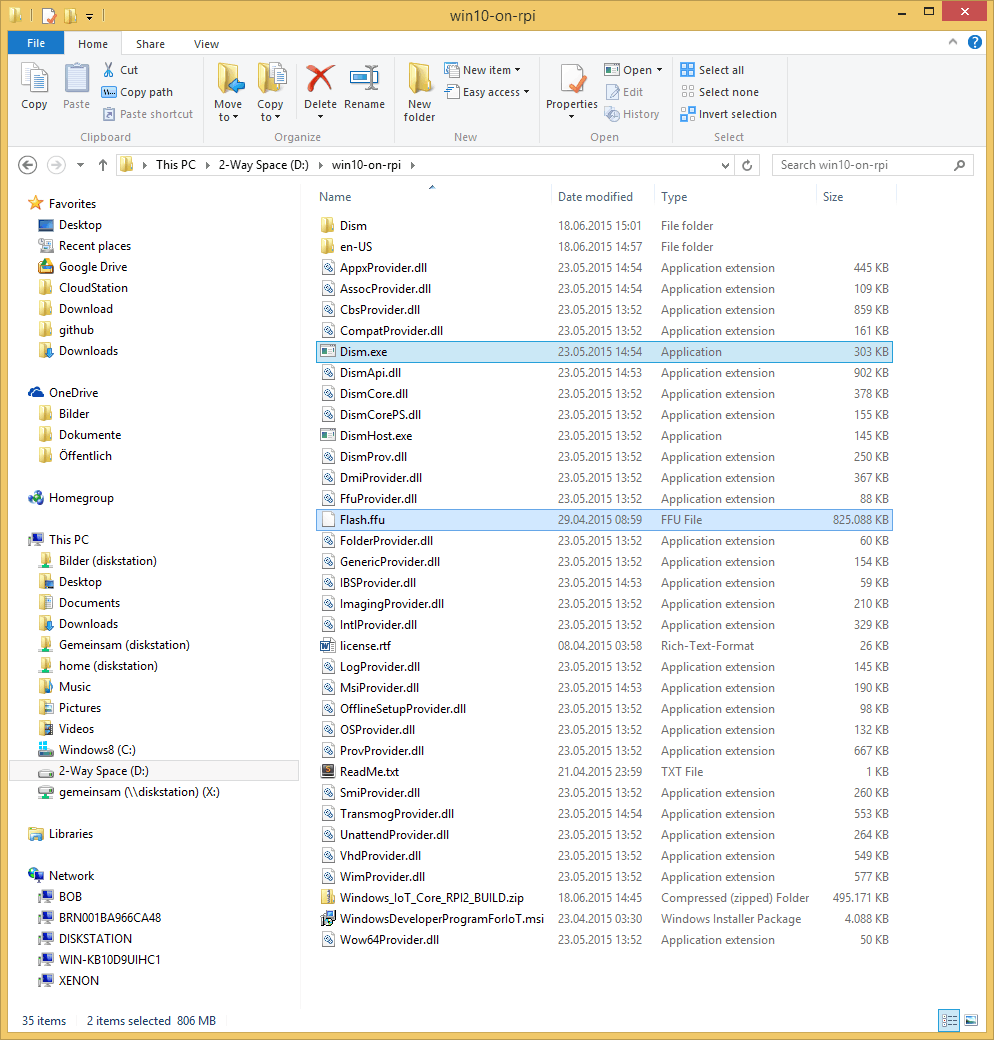
I made a new folder on my Desktop PC (D:\win10-on-rpi) and extracted the flash image there (Flash.ffu). Then I copied some data from the Windows machine into this folder:
- Dism.exe (from C:\Windows\System32)
- DismApi.dll (from C:\Windows\System32)
- All content inside C:\Windows\System32\Dism
Important is to copy the content from the Dism folder directly into folder and not into a subfolder. This is not intuitive, but works.
At this point I opened a powershell command prompt as an administrator and executed the Dism-command.
1 | D:\win10-on-rpi> ./dism.exe /Apply-Image /ImageFile:Flash.ffu /ApplyDrive:\\.\PhysicalDrive7 /SkipPlatformCheck |
